Snowbowl ski lessons: How I learned to ski as an adult (and loved it!)
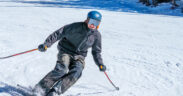
It may be warming up in Arizona, but that doesn’t mean the end of ski season at Snowbowl. Typically, skiers and snowboarders can get their winter sports game on until May — and this includes first-timers! Earlier this year, I was fortunate enough to learn how to ski for the first time ever (as a 40-something). I’ve never had more fun, and I’m convinced you will too.
Snowbowl musts:
- Take lessons mid-week (Mon-Thurs) to avoid crowded practice areas
- Request Ryan Wood as your instructor
- Plan at least two days if you’re taking ski lessons
The story of a first-time Snowbowl skier
Did I think I would do well skiing for the first time as a self-proclaimed, uncoordinated person? Absolutely not. But, I was determined to try it anyway, after interviewing Angie Grubb, marketing manager at Arizona Snowbowl Resort, who explained that Snowbowl is one of the best places in the nation to learn how to ski. And she’s right; it is.
Step one: Check-in
First, buy your lift and lesson tickets ahead of time. Lessons, in particular, book fast. For those — like me — who’ve never skied, I recommend taking advantage of the FREE, 2-hour Snow Experience the first day and a Group Lesson the next day.
- Once you arrive at Snowbowl, go inside the lodge and check-in with one of the uber-friendly desk attendants (shout out to Tami and Gio!). Here, you’ll pick up your lift and lesson badges.
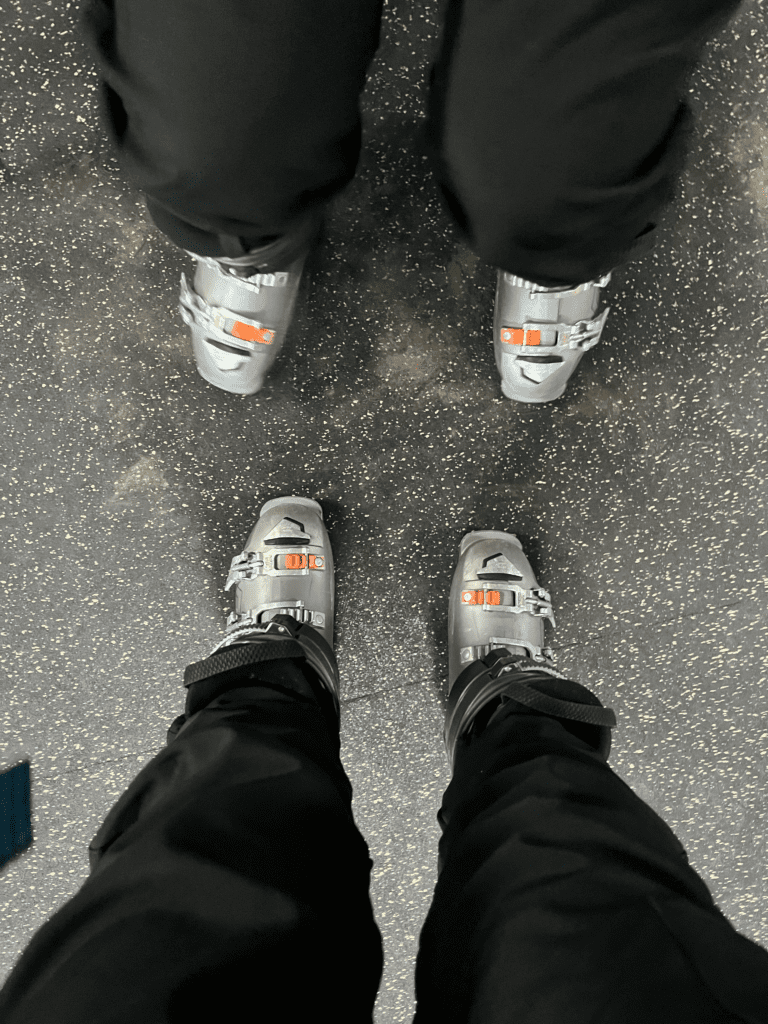
- Next, you’ll get your ski boots and helmet. First-timers: the boots are super awkward to walk in, but you’ll get used to it quickly, and if I can do it, anyone can do it!
- There is a locker area where you can stash your backpack, shoes, etc. for a small fee.
Step two: Ski rentals and lesson check-in
Once you’ve safely stashed your belongings in a locker, it’s time to head outside to the ski rental kiosk. Your friendly ski-rental attendee will look up your name in the system or scan your badge and hand you a set of skis to match your height and weight. Across from the ski rentals is where you’ll line up in the lessons’ queue.
Step three: Lessons!
My ski lessons started at 10 a.m. both days — but you’ll want to confirm the time when purchasing tickets.
At the designated lesson time, you’re placed in a group and assigned an instructor (all hail Ryan! More on this soon). Again, the FREE Snow Experience is a fabulous choice if you’ve either never skied before or it’s been awhile. The instructor team excels in placing similar skill-level skiers together. Just remember, you’ll still pay a (usually nominal) lift fee.
Step four: What you’ll learn
Every Snowbowl instructor I spoke with or observed was a master at their craft. My instructor, Ryan had the skills of an Olympian and the patience of a saint. Even after bowling him over at least half a dozen times, and probably asking him the same question 10 times, he was calm, cool, collected — and simultaneously able to keep track of five people.
During my two days of lessons, I learned how to:
- Properly use equipment (putting boots in the skis)
- Slow down and stop (the pizza)
- Get up and down the mountain without sliding or falling
- Learn left and right turns (this is where poor Ryan got bulldozed several times)
- Ride the ski lift
- Be patient with myself
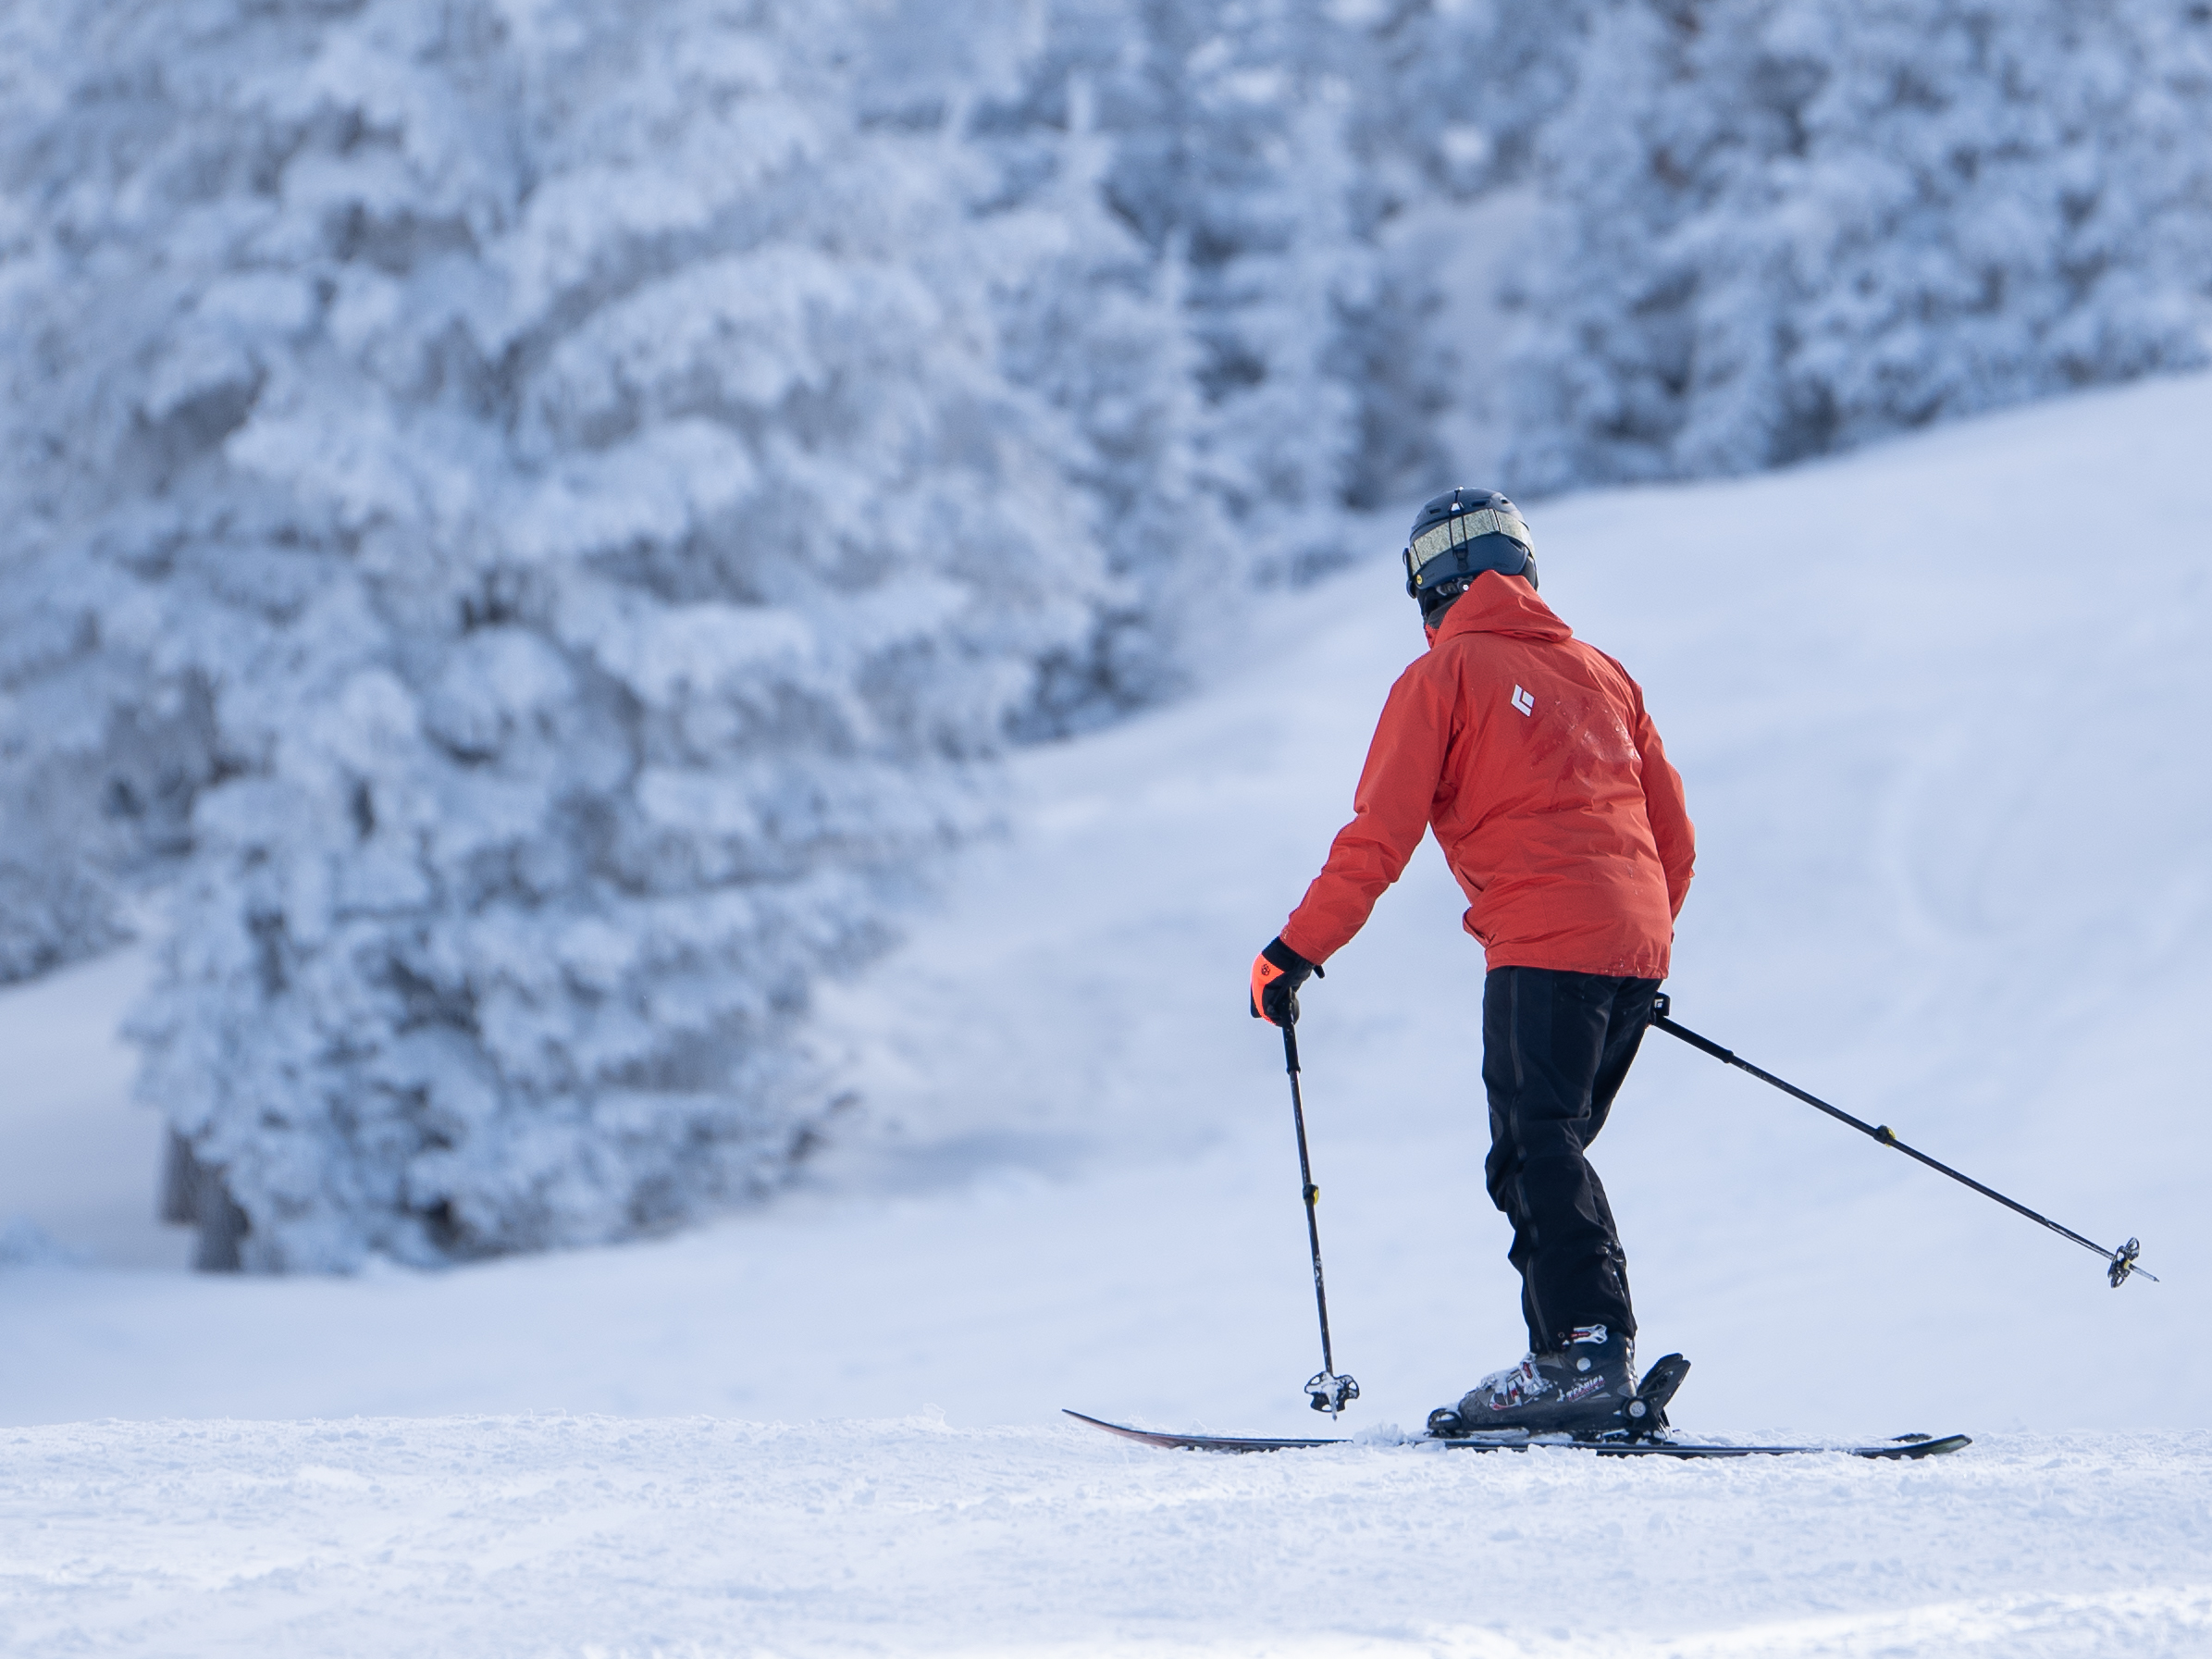
* Fun fact: Most instructors at Snowbowl recommended not using ski poles during lessons. I didn’t use any, and it helped me better learn how to control my movements on the slopes. When I did “try” using them, I wanted to use them as “stoppers,” which is not their intended purpose.
Step five: Practice may not make perfect, but it sure helps
I now see why Grubb recommended taking ski lessons and practicing for at least two days. While I pleasantly and greatly surprised myself by mostly getting the ski thing, I realize that one day would not have been enough skiing foundation to feel confident.
Other things to think about
- Bring: Thermals, waterproof ski pants, a jacket, a fleece for under your jacket, gloves, goggles or sunglasses (I like sunglasses better) and a beanie.
- Food and drink: There are three lodges and a yurt on the mountain to satiate hunger and thirst. Dehydration from elevation (and activity) is a real thing. Bring/buy electrolytes!
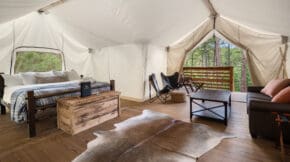
- Where to stay: Check out The ultimate Snowbowl guide: Get your skis and snowboards ready! for recommendations.
Takeaway
Guess who has fallen in love with skiing and can’t wait to do it again? This writer. I have no doubt my newfound admiration (which could easily turn into addiction) is due to the amazing experience I had at Snowbowl. To learn more, visit snowbowl.ski.